
As a serious fan of Bower, I use it as often as possible for setting up projects yet, when pulling in files, I find that the bower_components directory is more fat than function: do you too?
bower_components:
$ bower install bootstrap jquery —save
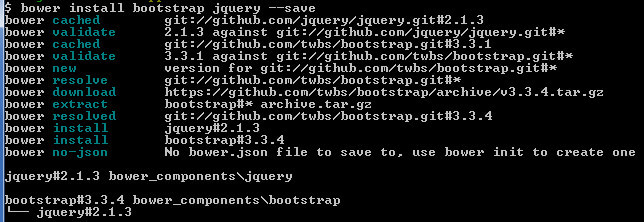
Which creates a file directory as illustrated:

As viewed with the Atom text and source code editor
Recently, however, I discovered the difference between a standard Bower led project to that of one using bower-installer by Bret Little. With bower-installer you pull in only the files you need, as I shall illustrate below.
bower-installer:
First things first, install bower-installer globally.
$ npm install -g bower-installerOr, as in some cases (and my preferred way), you may wish to install locally to your project directory by cd’ing onto the root folder and running:
$ npm install bower-installerEither way, you will need to cd into the project folder to continue.
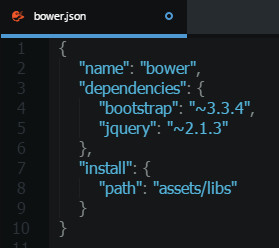
Open up (or create) the bower.json file in your text editor and, just below your dependencies, add your preferred directory path, such as assets/libs:
Save the file, and return to your command prompt, running the command:
$ bower-installerThis should, if all has gone to plan, have created a much slimmer repo of dependencies, as illustrated:
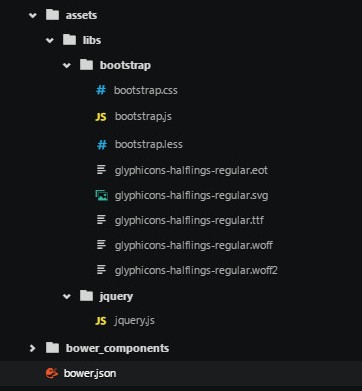
Far more workable, wouldn't you say?
The only thing I have so far found that needs a slight tweak, is the location of the glyphicons in the boostrap.css file - needing to change url('../fonts/glyphicons-halflings-regular etc. to url('glyphicons-halflings-regular by the 'replace all' function of my text editor.
Prerequisites:
Node: Simply hit the big green INSTALL button to download - the npm command-line tool comes bundled with the installation.
Note: if you’re having trouble installing or working the above, try running $ npm update -g bower in your command prompt first.